Get started with Git
Working with git is essential when coding. It provides a great platform for code collaboration, version control of your code, and security. This is a short guide to help you get started with git, further documentation is available on the links below and the reader is referred to them for a more extensive description. This guide will use the Liu integrated Gitlab, but the same principles apply for GitHub.
Further reading
Project roles
Gitlab WebIDE
Download git
Set up git locally
ssh key
Add ssh key to Gitlab
Use git: commands
git merge
Vscode
Vscode and git
Gitlab
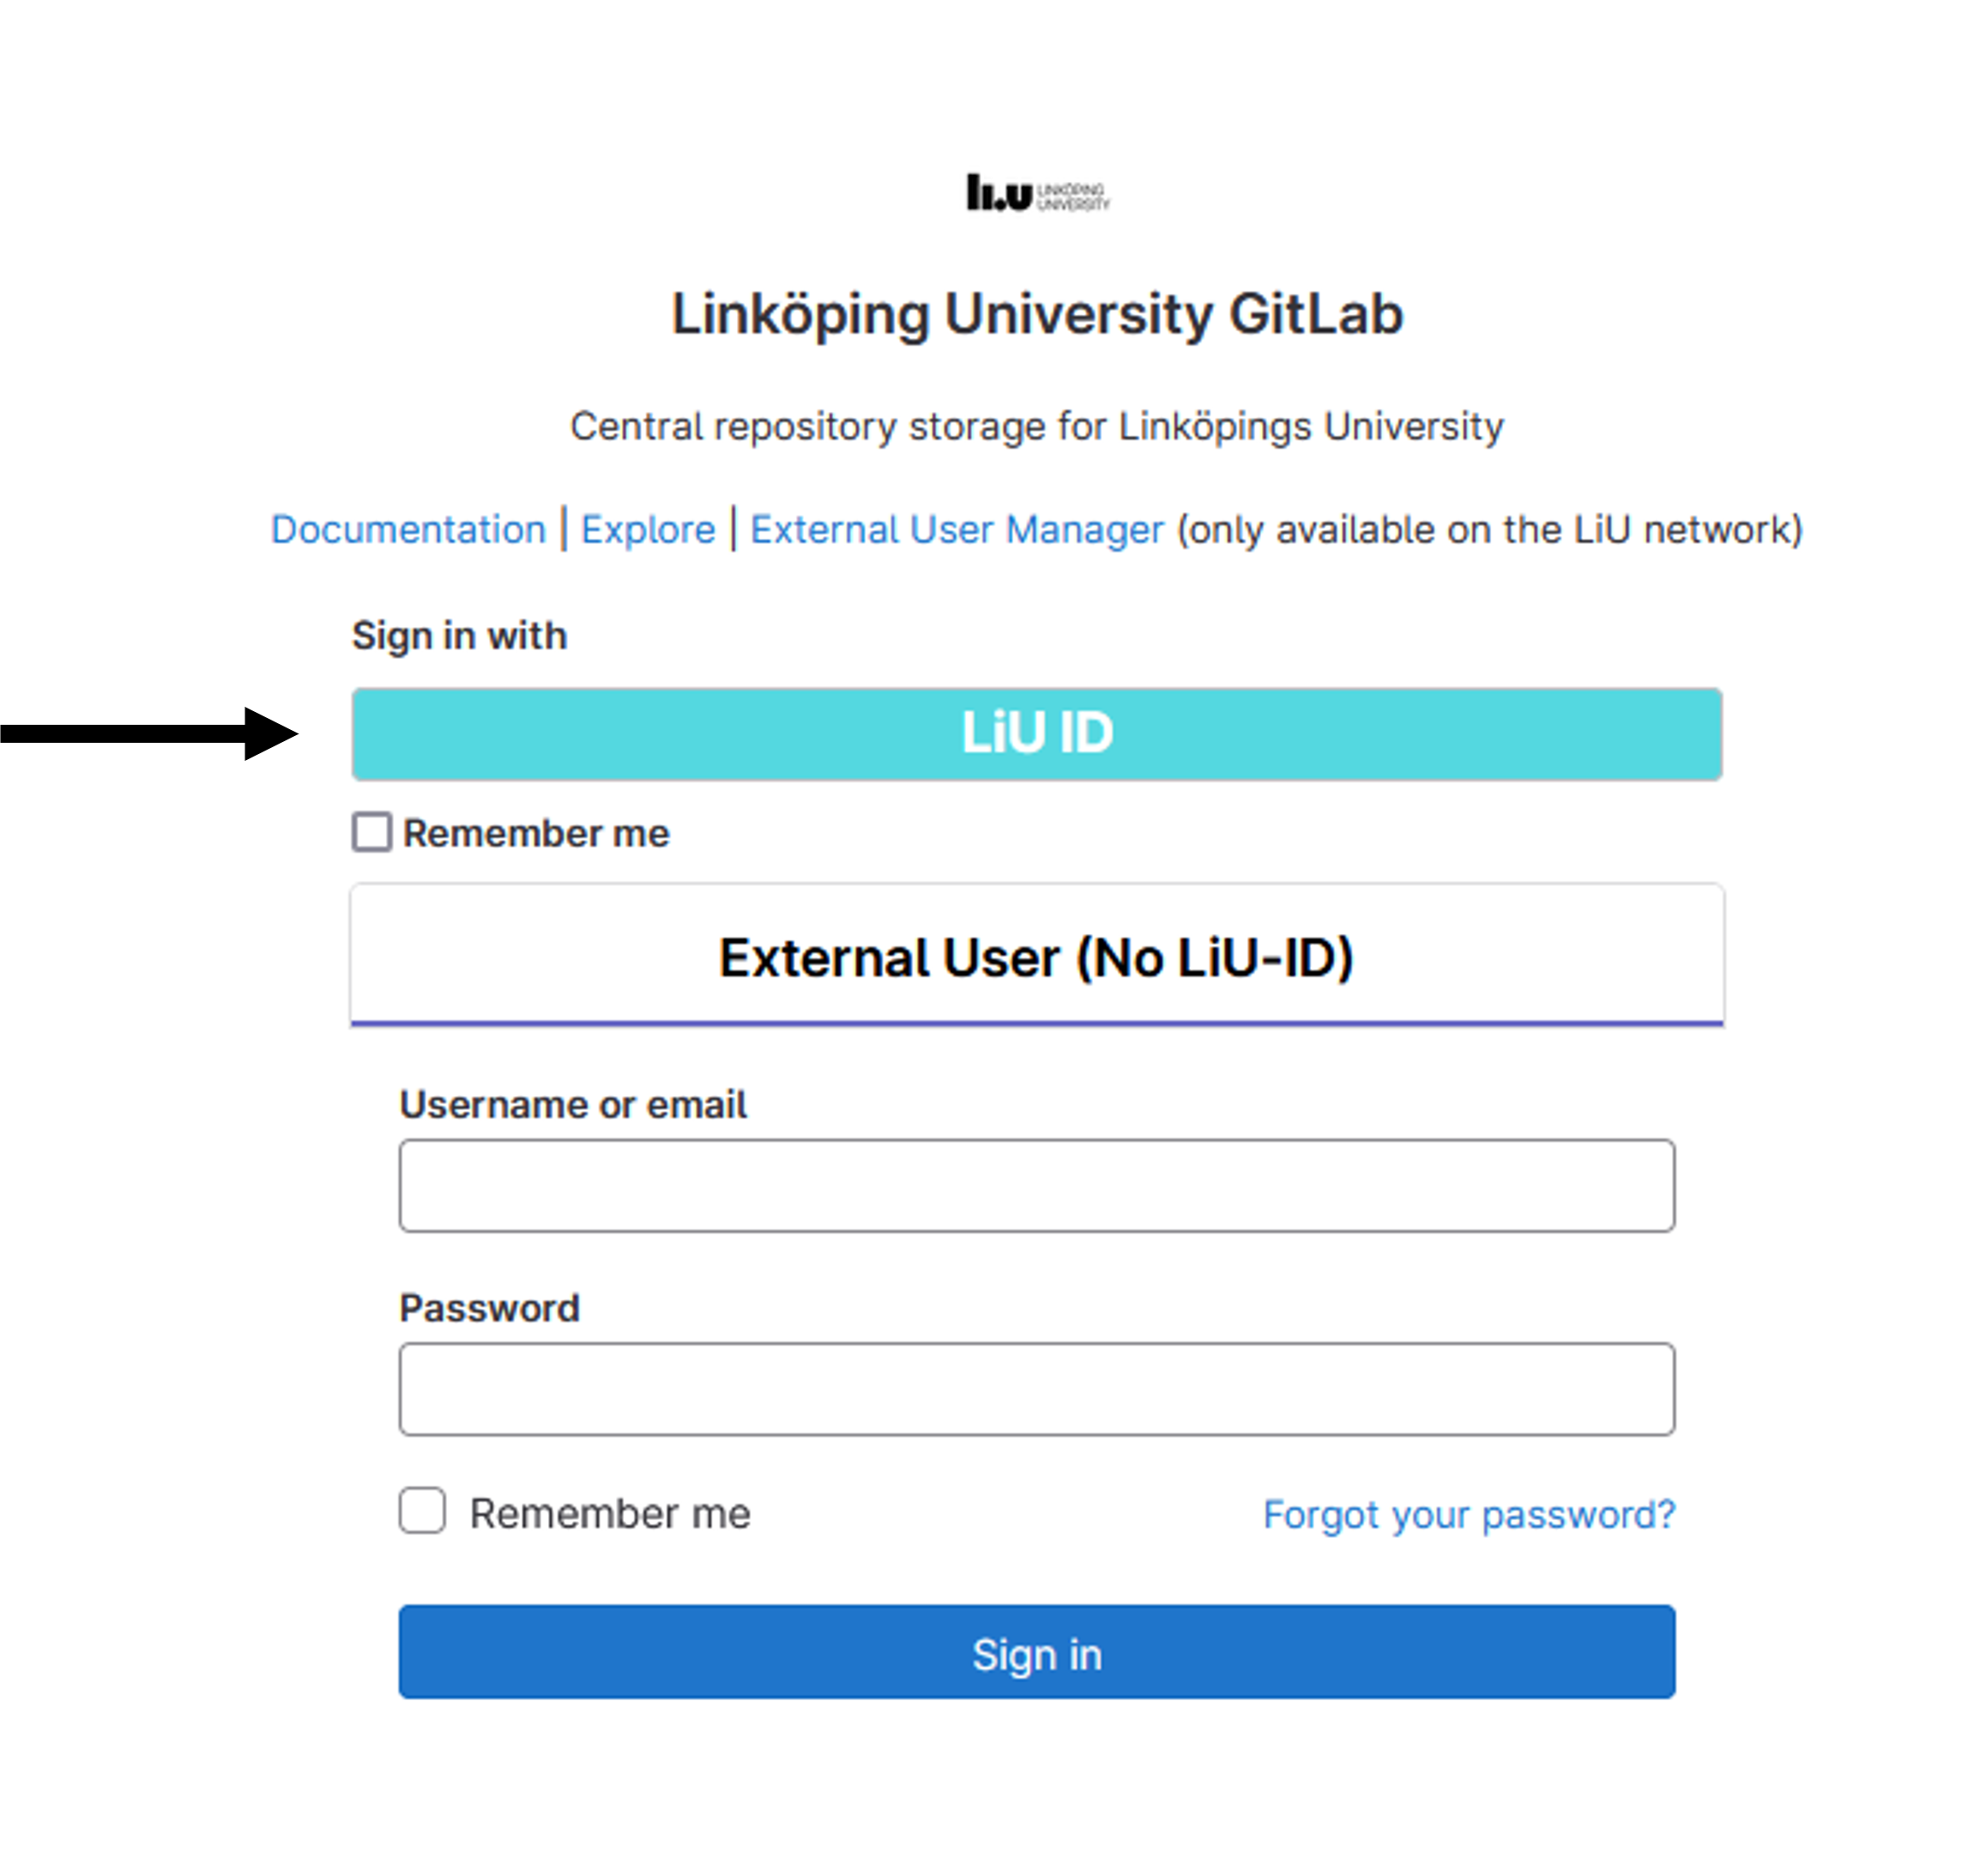
We have access to Gitlab through Liu and we advise you to start your git journey here.
- sign in using your liuid
- Create a project for your code. Here we have some alternatives, either you create a project or if you are a group that will work on different projects you could instead group a group. A group allows you to have multiple projects within the same group and a neat way of having them in the same place. If you have created a group you, will thereafter need to create a project(s) in the group.
- When a project is created you will need to invite your collaborators to the project (if not done during the initial set up of the project). This is done under
Project Information > Members. - Assign roles to your members Project roles. You are by default the owner of your project. If you are going to collaborate on the code, the members need to at least be Developers.
Now, the project is created, and the next step is to start collaborating on the code. There are two choices, doing it locally or via the browser. Gitlab has browser support for developers Gitlab WebIDE and is functional. However, typically you want to start using git locally when you have multiple projects and not be dependent on an internet connection.
Using Git locally
- To use git on your local computer we first need to download git.
- Open a command prompt (i.e., your default command prompt or git bash that you can download with git).
-
Now we need to set up git on your local machine (see instructions)
a. Configure a user namegit config --global user.name "John Doe"b. Configure a user email
git config --global user.email johndoe@example.com -
Next thing is to generate a ssh key. This allows your local computer to have a unique fingerprint and is what allows us to communicate with the remote code library on Gitlab. There are different types of keys, with varying security. To keep it short unless you do something special a ED25519 key is sufficient.
a. In your commando prompt write
ssh-keygen -t ed25519 -C "<comment>"b. The prompt will ask you in which file you want to save the file
Enter file in which to save the key (/home/user/.ssh/id_ed25519):, the default is fine and you can press enter.c. The prompt will ask you what password you want for the key
Enter passphrase (empty for no passphrase):if you do not want a password just press enter for the initial prompt and the "repeat your password" prompt.
Register key in git project
Now you have generated your ssh key and the file per default located in your /home/user/.ssh/ directory. The next step is to register this key in your project.
- On Gitlab, navigate to your user preferences (the circle icon in the upper left corner).
- Under preferences, there is a section for SSH keys on the left menu. Here, we can add the ssh key to Gitlab and connect the fingerprint of our local machine and our Gitlab profile.
-
Open your commando prompt and navigate to
/home/user. We want to copy the ssh key and this is done by the following command (note that you need the correct path of your ssh file per default located under the private folder/home/user/.ssh/):-
On Windows
clip < %USERPROFILE%\.ssh\id_ed25519.pubHere,
%USERPROFILE%should direct you to your home folderC:\Users\User. If this does not work, you can simply navigate to theC:\Users\User\.sshfolder and clip the file usingclip < id_ed25519.pub -
On Mac
tr -d '\n' < ~/.ssh/id_ed25519.pub | pbcopy -
On Linux
xclip -sel clip < ~/.ssh/id_ed25519.pub
-
-
Now in Gitlab, paste the copied ssh key in the Key box.
- Give the key a suitable title (i.e., "My laptop"), set the usage type (for your purposes choose "Authentication & Signing"), and an expiration date if needed.
Personal access token (PAT)
Since 2FA access is mostly used you might also need to create a personal access token (PAT) that allow a local computer to authorise remote access to git. You can read more about personal access tokens. If this is the case, you need to do the following steps:
- Create a new token under your user preferences select
Access tokensand give the token a name and select the scopes permitted with this token. As a minimum you need to permit all writing and reading scopes. - Generate the token and save it somewhere safe. You can now use this token to authorize requests from your local computor to your git account.
- Use the PAT next time you are prompted to enter your git password, this will link your device and git account and you will not be prompted to enter the PAT for this device again.
Clone the project
We have now established a connection between our computer and the remote respiratory and we are ready to use git clone to mirror the remote project on our local computer.
- On your project overview, find the clone button and copy the ssh address under Clone with ssh.
-
Run
git clone ssh_addressfrom the directory you wish to add a folder with the project files.-
If 2FA access is enabled git want you to first authorize yourself first, using your git profile username and PAT token, before the clone command is executed.
-
The project will be cloned into a new folder and contain all the files that exist in the remote repository. It is from this new folder that you will work with and communicate your changes to remote repository and also be able fetch remote changes to your local code.
-
Git interface
We are now ready to use git on our computer. This can be done in any commando prompt using the git commands, but there are graphical interfaces that makes this easier. Vscode has such an interface built in (use git in Vscode).
Working in git
To work in git you need to learn some commands, below the most common ones are listed. There are many more functionalities and commands for specific use cases, but those you can learn when you need them (git commands).
- git status - check the status of the project. Which branch you are on and if there are new/deleted/edited files. Gives an overview of the project
- git add - add files that should be put on the remote repository.
git add <file>adds one specific file,git add .adds all files - git reset
- added a file by mistake? this removes that file - git commit - this command commits the added files to the project. Good practices is that commit with a message describing the changes
git commit -m "Changed file xxx because ..." - git push - pushes your commits to the remote respiratory and make your changes available remotely
- git pull - retrieves the latest changes from the remote repository.
Other good commands that are used less often
- git clone - initializes a git project on your local computer from a remote repository, you can use the SSH or HTTPS address to clone
- git branch - git can create branches that are a mirror of your code. This is useful if you want to test things in your code without messing up your main code. We can then create a branch and test things there
git branchallows you to see all branches and which one you currently are ongit branch xxxcreates a new branch named "xxx" which mirrors your current branch (main or master per default)git branch -d xxxdeletes branch "xxx"
- git checkout - move between different branches or commits, use branch name, or commit hash
- git merge - allows you to merge one branch into another to keep the changes and continue with them included in the main branch. Typically, you test a feature in a branch and then if/when the feature is functional you merge it into main/master branch, this also removes the branch. Navigate to the branch you want to merge into and call
git merge xxxthis will merge "xxx" into main. A more detailed description can be found on the git documentation
Merge conflicts
When collaborating on code you might make changes that conflict with one another if you compare your local files. For instance, consider this function and the changes user A (removed one input) and B (added one input) has made to it.
Function at head
output = awsomeFunction(input1, input2)

user A's local change
output = awsomeFunction(input1)

user B's local change
output = awsomeFunction(input1, input2, input3)
awsomeFunction it should keep and therefore it will tell user that it needs help deciding which change is the correct part. For the most part git is smart enough to figure out how overlapping changes should be handled, but things like this where it is a direct conflict will ask you to resolve them. In Vscode the merge conflict editor is quite easy to compare your local file with the head of the branch and figure out how to handle the conflict (accept incoming change, discard change, or accept both). Otherwise, you will have to edit this manually in your files. Once this is sorted out you can commit your merge and push it.
Git ignore
Per default git will track all files in the project folder, we do not want to do this for some files (i.e. mex files). We can tell git to ignore such files using a .gitignore file. In this file we list what we want git to not track. - .mex - will ignore all files containing "mex", followed by any other characters. - /mexFiles/.mex - will ignore all files containing "mex", followed by any other characters, in the folder "mexFiles".
Extra about git
Git is a convenient way of handling different versions of files. Especially when handling text-based files such as scripts. The power of git comes from the fact that instead of storing different versions of the files, it stores the basic files and then all changes are made. This means that git can store a huge number of changes with very low storage usage. However, it is now working well with projects with large "binaries" (essentially all files which are not text based, e.g. .mat files). It might be better to store such files using other means, such as OneDrive, fileserver etc. Note, tracking some files is often not problematic, but if they are changed often, it might be. One way of getting around this problem is installing git-lfs. Though this is not covered here. Remember that you need to be in the right folder with the terminal. Your project folder can be moved wherever you want. But note that the directory contains a .git hidden folder which is necessary for git to work.